Showing posts with label cooking. Show all posts

Thursday, May 19, 2011

Recipe Fun this Summer (take 2)


I posted earlier this week some fun recipes to make with your kids this summer. Check them out HERE. Here are some more that I thought you might like! They won over these kids!

Delicious Whole Wheat Crepes
Makes 16 crepes
Ingredients
            - ½ cup whole wheat flour                                      - 3 large eggs
            - ½ cup all-purpose flour                                         - ½ cup 1% milk
            - 1 tsp. sugar                                                              - 2 tsp. butter, melted
            - ½ tsp. salt                                                                - ½ cup seltzer water (club soda)
1. Combine whole-wheat flour, all-purpose flour, sugar, salt eggs, milk, and butter in a food processor or blender; process until smooth, scraping the sides once or twice. Transfer to a bowl, cover and refrigerate for at least 30 minutes or overnight.
2. Slowly whisk seltzer water (or club soda) into the crepe batter. Lightly oil a small nonstick skillet with a crumpled paper towel; heat skillet over medium-high heat. Ladle about 2 tablespoons batter into the skillet with a small ladle or measuring cup; immediately tilt and rotate the pan to spread the batter evenly over the bnottom.
3. Cook the crepe until the underside is lightly browned, about 30 seconds. Using a small metal spatula or a fork, lift the edge of the crepe, quickly grasp it with your fingers and flip. Cook until the second side is lightly browned, about 20 seconds longer. Slide the crepe onto a plate.
4. Serve with your choice of toppings (jam, powdered sugar, fresh fruit, syrup, or Nutella).


Banana-Nut-Chocolate Chip Muffins
Serves 12 large muffins or 48 mini-muffins
INGREDIENTS


  • 1 cup all-purpose flour
  • ½ cup whole-wheat flour
  • 1 teaspoon baking powder
  • 1 teaspoon baking soda
  • 1/2 teaspoon salt
  • 3 large bananas, mashed
  • ¾  cup white sugar
  • 1 egg
  • 1 tsp. vanilla
  • 1/3 cup butter, melted
  • Mini-chocolate chips or chopped nuts (optional)


1.    Preheat oven to 350 degrees. Coat muffin pans with non-stick spray, or use paper liners. Sift together the flour, baking powder, baking soda, and salt; set aside.
2.   Combine bananas, sugar, egg, vanilla and melted butter in a large bowl. Fold in flour mixture, and mix until smooth. Add chocolate chips and nuts. Scoop into muffin pans.
3.   Bake in preheated oven. Bake mini muffins for 10 to 15 minutes, and large muffins for 25 to 30 minutes. Muffins will spring back when lightly tapped.


Graham Cracker Bruschetta
Ingredients:
-      Graham crackers cut in half
-      4 oz. softened less-fat cream cheese
-      2 Tablespoons of peanut butter (optional)
-      1 Tablespoon of sugar or honey
-      Toppings of your choice: (berries, nuts, sliced bananas, etc.)
Place graham crackers onto a serving plate. Combine cream cheese, peanut butter, and sugar in a bowl and mix with a fork until combined. Spread onto graham crackers and top with your choice of toppings. Enjoy!


~ No-nonsense Nachos ~
Ingredients:
-       1 package of corn tortillas (about 6 in. diameter)
-       2 cans (15oz. each) black beans
-       1 tsp. chili powder
-       ½ cup bottled salsa
-       1 cup shredded cheese

1.    Preheat oven to 500˚.
2.    Half-fill bowl with water. Dip tortillas, one at a time, into water; shake off extra water and stack tortillas on cutting board. Use knife to cut stack of tortillas into 6 pie-shaped wedges. Spread tortilla pieces out in a single layer in baking pans. Bake for 3 minutes; then use mitts to remove pans carefully to racks. Use pancake turner to turn tortilla pieces over and use mitts to return pans to oven. Bake for about 2 more minutes, until chips are light golden. Use mitts to remove pans carefully to racks. Reduce oven temp. to 400˚.
3.    Place beans in colander and rinse with water until water runs clear.
4.    Wash and dry bowl. Place beans and chili powder in bowl and mash with potato masher until well blended. Use spoon to spread bean mixture in pie pan; cover with salsa and top with cheese. Bake for about 25 minutes, until cheese is golden brown. Turn off oven and use mitts to remove pan to rack. To serve, place pie pan on serving plate and surround with chips.
-Makes 6 servings


Homemade Lunchables
Ingredients
        - 12 Ritz crackers (or crackers of your choice)  
        -  6 squares of cheddar cheese
        -  6 squares of ham or turkey
Place a cutting board on the counter. Using a knife carefully cut 6 squares of cheddar cheese. Next place the lunch meat on the cutting board and cut 6 squares of ham or turkey. Place the stack of cheese in one corner of the Tupperware. Then place the stack of lunch meat in the opposite corner. Next place the crackers in the remaining corners of the Tupperware. Seal and place in your lunch box. Enjoy at school with a delicious piece of fruit, some carrots, and a drink!

Chef Pettit’s Lemonade & Soda Pop Cupcakes
Soda Pop Cupcakes:
1 box of yellow cake mix
1 can of lemon lime sparkling water
2 Tbsp. lemon rind
3 Tbsp. fresh lemon juice
~ Preheat oven as directed for cupcakes on the back of the cake mix box. Line 2 cupcake trays with cupcake liners. Next pour the cake mix into a mixing bowl. Add the can of sparkling water, lemon zest and lemon juice to the cake mix. Beat on medium speed for 2 mins. Pour the batter into the cupcake liners and bake as directed. Let cool for 10 minutes and then remove from pan.

Lemonade Frosting:
2 Tbsp. butter (softened)
2 tsp. lemon rind
2 tsp. thawed lemonade
½ tsp. vanilla
8 oz. less-fat cream cheese (not softened)
3 ½ cup powdered sugar

Beat butter, lemon rind, lemonade, vanilla, and less-fat cream cheese in a bowl on high until fluffy.  Add the powdered sugar just until blended. Don’t over beat.
Chill frosting for 1 hour.
Frost the cupcakes and store lightly covered in fridge. Serve COLD!


Let us know what your favorite kid friendly recipes 

are and we will share them on our blog!!!

Sunday, May 15, 2011

Cookin' in the Kitchen with the Kiddos!

It's almost summer...
the kids will be home...
what will you fill your days with....any ideas??

How about COOKIN' in the KITCHEN!

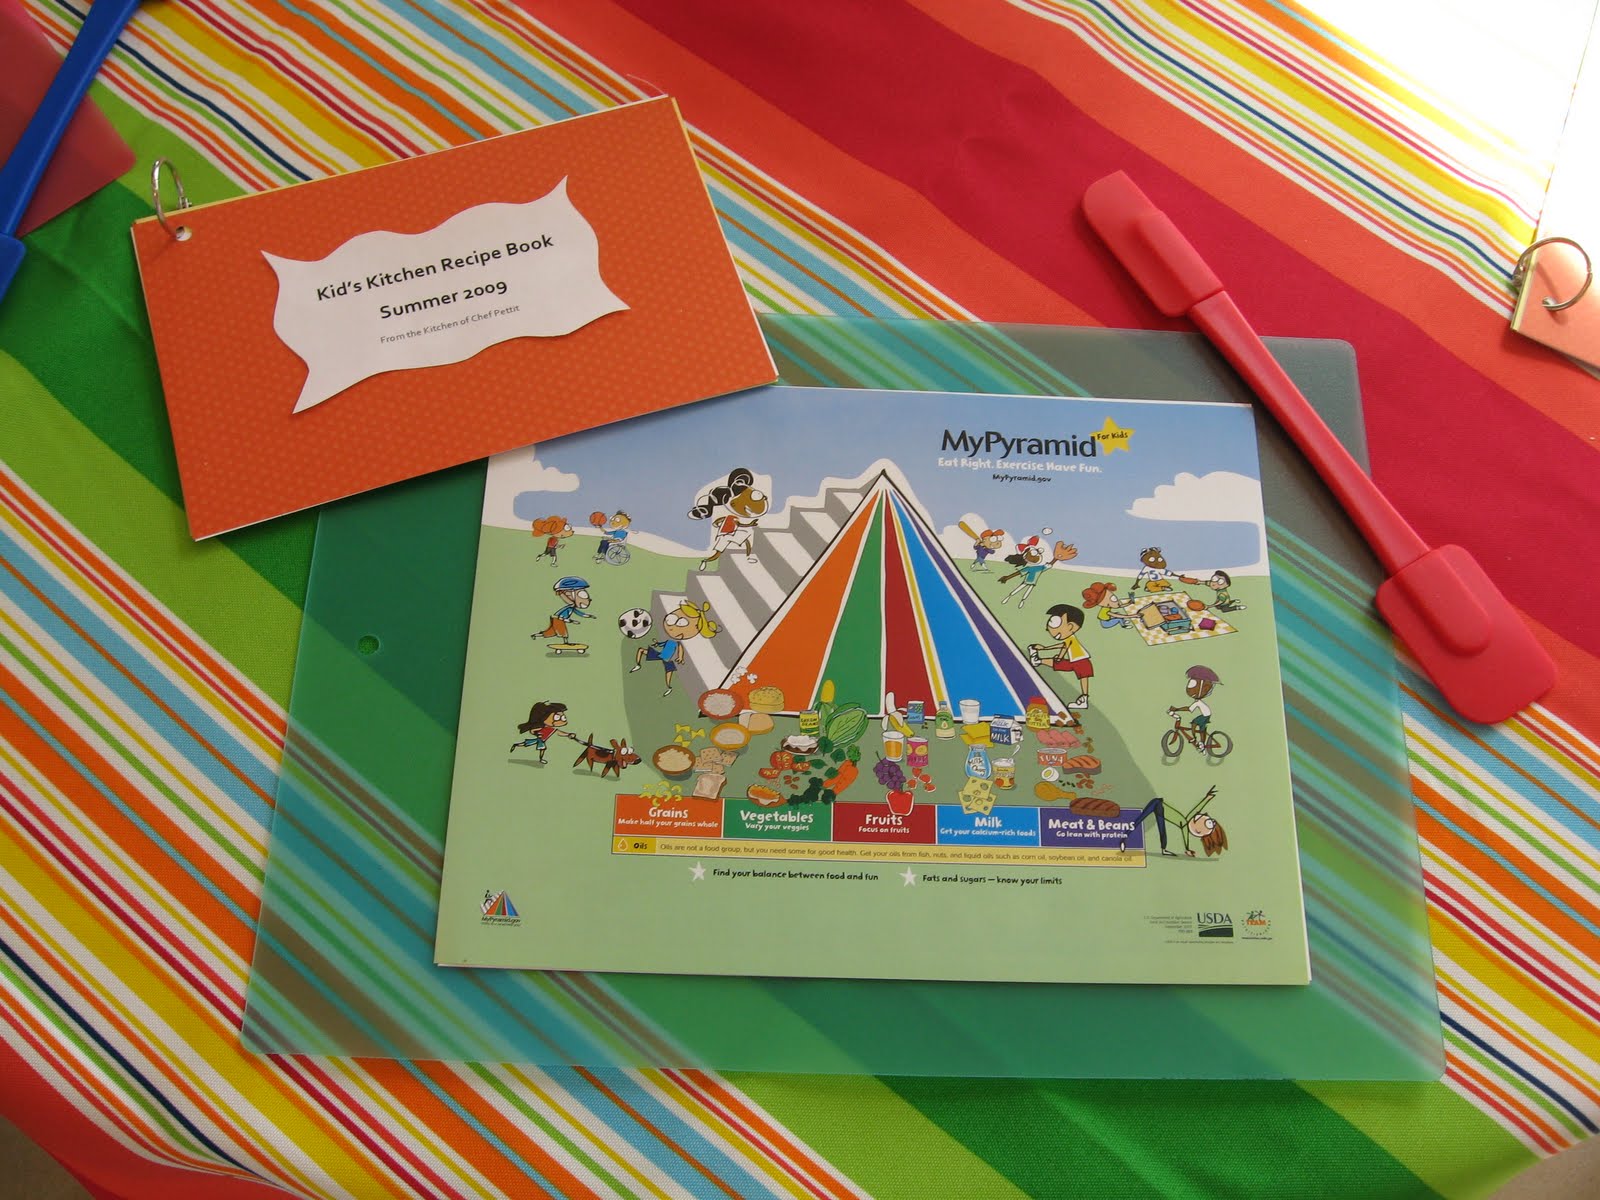
One of my FAVORITE places to be is in my kitchen! Those who know me well know that I have a passion for cooking and love more than anything to try new recipes. A few summers back I taught a kid's cooking school out of my house. I called it "Kid's Kitchen". We had a BLAST!


 I love experimenting with fun, healthy recipes and especially love when other people (kids included) LOVE my cooking. I thought I would share with you some of the KID APPROVED favorites from my "Kid's Kitchen".


Strawberry Mice
Ingredients:
-         Fresh strawberries                      - Almond slivers
-         Mini chocolate chips                  - Red lace licorice
-         Black decorators’ icing              - Wedge of cheese
1.     For each mouse slice a section from the side of a strawberry so it sits flat.
2.    Press a mini chocolate chip into the tip for a nose, using a small dab of icing to secure it in place, if needed.
3.    Add icing eyes and stick 2 almond slivers into the top of the berry for ears.
4.    For a tail, use a toothpick to carve a small hole in the back of the berry and push the end of a piece of licorice lace into the hole. Serve these BERRY cute treats with small triangles of cheese. Enjoy with crackers!


Oven-Baked Carrot Fries*
Recipe from Williams-Sonoma: The Kid’s Cookbook

Ingredients
-       1 ½ pounds carrots (10 medium)                                  -  1 tsp. sugar
-       2 Tbsp. olive oil                                                           -  ½ tsp. salt
-       2 tsp. finely chopped fresh rosemary                           - pinch of pepper

-Preheat the oven to 425 degrees. Line the jelly-roll pan with aluminum foil.
-Using a sharp knife and cutting board, cut away the tip and end of each carrot. Place 1 carrot on the board and hold with one hand. Holding the peeler in the other hand, run it over the carrot always peeling away from you. Turn the carrot as needed to peel completely. Repeat with the other carrots. Using the sharp knife, cut 1 carrot in half crosswise. Next, cut each half in half lengthwise. Finally, cut each half in half lengthwise again. You will end up with 8 sticks from the carrot. Repeat with other carrots.
-In the mixing bowl, combine the carrot sticks, olive oil, rosemary, sugar, salt, and pepper. Stir with the rubber spatula until the carrot sticks are evenly coated with all the other ingredients.
-Dump the carrots onto the foil-lined jelly-roll pan, scraping out any herbs clinging to the sides of the bowl. Spread the sticks out as much as possible. Bake until the carrots are tender and well browned, about 20 minutes. Using oven mitts, remove the pan from the oven. Serve the carrot fries hot or at room temperature.


Pizza Roll-Ups
Ingredients:
-        Guerrero Whole Wheat Tortillas (These are the best around!)
-        Handful of shredded mozzarella cheese
-        5-6 turkey pepperoni’s per tortilla
-        2-3 Tablespoons of pizza sauce
Place tortilla on microwave safe plate. Sprinkle tortilla with cheese, layer with pepperoni’s and drizzle with pizza sauce. Microwave for 30-60 seconds in microwave until cheese is melted. Roll up and dip in additional pizza sauce if desired.

 ---Taco Munch---
Ingredients:
-          6 cups popped, unsalted popcorn
-          3 cups corn Chex
-          1 cup mini-pretzels
-          2 Tbsp. butter, melted
-          2 to 3 tsp. dry taco seasoning
-          2 Tbsp. grated Parmesan cheese
-          4 oz. cheddar cheese, cut into ½ inch cubes

1.    Combine popcorn, cereal and pretzels in a large bowl. Combine butter and taco seasoning and drizzle this over popcorn mixture. Sprinkle with Parmesan cheese and toss to coat.
2.    Store in an airtight container. Toss with cheddar cheese just before serving. Makes 10 servings.


 Crunchy Coated Chicken Breasts
Recipe from Williams-Sonoma: The Kid’s Cookbook
Ingredients
-    17 Saltine crackers                                         -  2 Tbsp. olive oil
-    ¼ cup grated Parmesan cheese                          - 8 chicken tenderloins
-    ½ tsp. dried thyme                                          - 2 Tbsp. Dijon mustard
-Preheat the oven to 425 degrees. Line a jelly-roll pan with aluminum foil and set aside.
-Put the crackers in a plastic bag. Press down on the bag to release the air and seal the top. Using the rolling pin, crush the crackers to make coarse crumbs.
-Empty the crumbs into a shallow bowl. Add the Parmesan cheese, dried thyme, and a good pinch each of salt and pepper. Stir with the table fork until well mixed. Drizzle the olive oil over the crumbs and toss with the fork until the crumbs are evenly moistened.
-Rinse the chicken tenderloins with cold water and pat dry with paper towels. Place them on a clean work surface. Spoon the mustard into a small bowl. Using the knife, spread the mustard over the top of each piece of chicken. Sprinkle with salt and pepper.
-Press the mustard-coated side of the chicken into the crumb mixture. Place the chicken, crumb side up, on the foil lined jelly-roll pan. Repeat with the other chicken tenderloins. Sprinkle any leftover crumbs on top of the breasts and pat them onto the chicken with your fingers.
-Bake until the chicken is no longer pink in the middle when cut into with the sharp knife, about 25 minutes. Using oven mitts, remove the pan from the oven and serve the chicken immediately.

Homemade Mac & Cheese
Recipe from Williams-Sonoma: The Kid’s Cookbook
Ingredients
-          2 Tbsp. butter                                                             -  2 Tbsp. grated Parmesan cheese
-          2 Tbsp. flour                                                               -  4 quarts (16 cups) water
-          1 & 2/3 cups milk                                                      -  1 pound rotini or fusilli pasta
-          1 cup shredded extra-sharp cheddar cheese                        -  salt and pinch of pepper
-Put the butter in the large saucepan and set the pan over medium heat. Stir with the wooden spoon until the butter is melted, about 2 minutes. Add the flour and whisk it together with the butter until smooth and bubbly but not browned, about 2 minutes. If the mixture begins to brown, reduce the heat to medium-low. With the pan still on the heat, slowly pour in the milk, whisking constantly. Cook, continuing to whisk, until the mixture is smooth, thickened, and gently boiling, 5 to 7 minutes.
-Using a pot holder, remove the pan from the heat and add the cheddar and Parmesan cheeses. Whisk until the cheeses melt and the sauce is smooth. Cover with the lid and set aside.
-Put the water in the large pot and add 1 tablespoon salt. Set the pot over high heat, cover with lid. Be careful: The steam is very hot! Slowly and carefully add the pasta, then stir it with the long-handled wooded fork. Boil the pasta, uncovered, until al dente (tender but still firm to the bite), about 8 minutes. Stir occasionally to prevent from sticking.
-Set the colander in the sink. Have the pot holders ready. When the pasta is cooked ask an adult to pour the contents of the pot into a colander. Let the pasta drain completely, shaking the colander a few times. Add the drained pasta, ¼ tsp. salt and the pepper to the cheese sauce. Stir until well blended. Serve immediately


Cookies and Cream Rice Crispy Treats
4 Tbsp. butter
4 cups mini marshmallows
8 cups rice crispy cereal
½ tray of Oreo cookies, crushed

½ cup chocolate chips, melted

Place butter in a large saucepan over med-low heat. Once butter begins to melt add marshmallows to pan. Continue stirring until all of the marshmallows are melted and there are no bumps. Turn off heat and remove pan from burner. Stir in cereal and Oreos. Pour into a large 9x13 inch baking dish. With the back of a large spoon that's sprayed with cooking spray press and smooth treats. Drizzle melted chocolate over top and let cool. Cut into squares.


Let me know if you like these...there are plenty more I can post!

Have fun COOKIN'!


Monday, March 21, 2011

Helping Your Child Eat More Fruits and Veggies

Tip #3

My son LOVES his fruits and many different veggies but he has an issue with texture. Sometimes he will not eat certain fruits, but mainly veggies, because it might be too bumpy or grainy. So sometimes I have to be creative...and sometimes I have to be deceiving. 

This is where this lovely cook book comes in:

I love this book to pieces! I add spinach to brownies, squash to homemade mac and cheese, white beans to homemade rice balls, broccoli to cookies and so much more. Sounds crazy huh? Well that's what I thought when my friend Jenn gave it to me for a baby shower long before baby O was born. But let me tell ya, I use it ALL. THE. TIME. I still offer O veggies steamed or raw, however, when he doesn't eat them that way, I puree them and in they go with our dinner...whatever we're having.

It truly is Deceptively Delicious!

What are some of your tricks on helping your children eat fruits and veggies?

Tuesday, March 15, 2011

Living Healthy

Before I get started...DON'T forget to enter our awesome March giveaway...click HERE!

TIP #2
Cook healthy meals that the whole family will enjoy!


This is hard for many busy families to do, but I feel that it is so important to make eating enjoyable, nutritious, and fun for the entire family. SO...make sure to involve your kids in the kitchen as much as possible!

Here are some helpful tips that I came up with to support cooking healthy meals in the kitchen with your kids:

1. Make a weekly meal plan. 
Usually on Sunday I sit down and plan out my meals for the week. My sister-in-law, author of Biterite.blogspot.com, gave me this lovely item for Christmas last year. I LOVE IT!

This helps me keep track of what we are eating for dinner each night and ideas for breakfast, lunch, and snacks. I glance at it daily because it is on my refrigerator. 

THIS IS WHERE THE KIDS COME INTO PLAY....
 Ask your children what they would like for dinner this week.
~ They could choose from a list of options.
~ Maybe your family likes to have themed nights. For example: Meatless Mondays, Pizza Fridays, Mexican Wednesdays, Breakfast Sundays, etc. 
~ Another idea would be to have each child choose a dish on their night....just plan ahead. Mikey picks on Monday what you get to eat for dinner. Since it his night then he is the KITCHEN HELPER for MONDAY nights. 

I feel that when I write it down I stick to the menu better. With kids there will be no questions like, "What's for dinner mom?" They will no that you have decided ahead of time and the menu is on the fridge. 

Planning ahead also helps with your grocery shopping for the week. 

By including your kids in the process you are able to teach MANY lessons such as: writing lists, organization, money management, reading recipes, measuring ingredients, etc.

2. Plan Ahead: Meal Preparation

I have found that the closer to dinner time, the harder it is to prepare dinner. SO...I have found that if I do the prep work ahead of time (like the night before after the kids are in bed or in the morning) then it is much faster and easier to get dinner on the table by 6:00pm. Do what you can do ahead of time like chop veggies, prepare the salad, assemble the lasagna and then refrigerate it. Then when it is time to have your children help you they can set the table and prepare the final touches on the dishes That way you can give your child more attention in the kitchen. 

3. Finding Healthy Recipes

I LOVE trying new recipes! I especially love using the internet to do this. I love reading other people's reviews on recipes that they have tried and to learn from them. I have compiled a list of some of my all time favorite websites that feature nutritious recipes that the whole family will love!


Happy Cooking!!!!


Wednesday, March 9, 2011

March is National Nutrition Month

In honor of National Nutrition Month I thought it would be fun to post some healthy, nutritious tips that you and your family might enjoy over the next month!

GOAL: Striving to become a healthier family!

Here is the first tip that I live by to help my family strive to become healthier each day:

TIP #1) Evaluate your cupboards and refrigerator. 

What kind of snacks and food do you keep on hand? 

I like to use the first 5 ingredients as a checklist to ensure that what is sitting in my kitchen is healthy. 

5 Ingredients to AVOID
High Fructose Corn Syrup
Sugar
"Enriched" flour products
Trans fats
Saturated Fats

I try hard to make sure that 90% of the stuff that I keep in my home does not contain these ingredients. 
I also have a NO SODA in the house rule.

What are 3 things in your cupboards or refrigerator that you could eliminate from your diet to help your family stay healthy?
Please post ...we would love to hear!

also...
This website is an AWESOME resource:


Healthy Meals for Healthy Kids

Thursday, February 10, 2011

Valentine's Day Dinner MENU

~ Day 10 ~

It's time to plan out the MENU for a festive Valentine Day Meal for the whole family to enjoy! (If you are going out on Monday, then you can do this on Saturday or Sunday night.)

Here are some fun ideas that you and the kids can serve for dinner on Valentine's Day:

~ HEART SHAPED PIZZA ~

Make your own pizza. The kids can choose the toppings and fix them up into little bowls so that they are easier to put on the pizza. Parents can shape the dough into a heart when it is ready for toppings. To get the entire family involved, each person can create a personal pizza for themselves with their favorite toppings. Add a salad and you have a perfect Valentine’s Day meal.

~ Valentine Soup ~
8 oz. Can of sliced mushrooms
1 can black olives sliced
Pepperoni cut in small pieces
4 Cups water
Large jar of spaghetti sauce or homemade spaghetti sauce
2 Tablespoons Italian seasoning
1 teaspoon parsley
1 teaspoon basil
In saucepan add all ingredients together. You can add or omit any ingredients as you would like. Simmer on medium 15-20 minutes until warm. Serve with garlic bread.

Read more: http://www.kids-cooking-activities.com/Valentine-recipes.html#ixzz1DcDXWNmb

~ Heart Meatballs ~
1 egg beaten
½ Cup Spaghetti sauce
¼ Cup bread crumbs, seasoned
½ teaspoon Italian seasoning
1 ½ lbs. Ground beef
1½ Cup shredded mozzarella cheese
Combine all ingredients together in a large bowl. With your hands shape meat into a heart. These will be much bigger than average size meatballs. Bake in a 350 degree oven for 20-25 minutes until done in the middle. (test with a meat thermometer)
It is rather easy to shape these into a heart shape and they are great placed on a mound of spaghetti or eaten as it is with a dot of red ketchup on the top. One of the easiest and fun kids Valentine recipes.

Read more: http://www.kids-cooking-activities.com/Valentine-recipes.html#ixzz1DcDxM5El

~ Heart Salad ~
Create a green tossed salad with whatever vegetables you'd like. Add some healthy Valentine hearts by cutting red peppers in half. Remove the seeds and cut out the core. With a small mini heart cookie cutter cut out hearts out of your red pepper halves. Toss into your salad. It is a lot of fun for those at dinner to find these red hearts.


Read more: http://www.kids-cooking-activities.com/Valentine-recipes.html#ixzz1DcEUUagx


For drinks, to make it festive, you can serve Cranberry juice mixed with your favorite Lemon-lime soda! 


And for DESSERT....
who doesn't love pizza for the main course and for dessert? 

This is especially FUN to make with kids!

~ Cookie Pizza ~
sugar cookie dough or brownie mix
2 Cups chocolate chips
14 oz. Sweetened condensed milk
2 Cups milk chocolate candies (M&M)
2 Cups mini marshmallows
½ Cups peanuts
Preheat oven to 375 degrees. Press cookie dough or brownie mix into pizza pan. Bake for 10 minutes or until golden brown. In saucepan, melt chocolate chips with condensed milk. Spread over crusts. Sprinkle with chocolate candies, marshmallows and peanuts. Bake 4 minutes or until marshmallows are lightly toasted.
~Shape your pizza dough into a heart shape.


~ Fruit Pizza ~

sugar cookie dough
white cream cheese frosting
Sliced fruit, strawberries, kiwi, raspberries whatever you choose
Spread cookie dough onto pizza pan. Bake for 10 minutes or until golden brown. Allow to cool. Then frost. Top with sliced fruit in whatever pattern you choose.
~Shape your pizza dough into a heart shape.


Read more: http://www.kids-cooking-activities.com/Valentine-dessert-recipes.html#ixzz1DcF5qTRF

Don't forget to teach as you go! Let the kids count the toppings on their pizza. They could group them by two's, three's, or five's. Have them measure the ingredients into the bowls prior to using them in the recipe. Lot's of math can be learned from your very own kitchen. It just takes a little bit more time and patience to teach them....so take it!

Happy EATING!